
Pilates for Artists: 6 Essential Exercises to Heal Your Aching Back
Hunched over a canvas, tablet, or pottery wheel for hours? You aren’t alone. Joseph Pilates originally developed "Contrology" to rehabilitate injured soldiers and dancers, focusing on a "corrective" approach to physical dysfunction. For artists who struggle with the chronic back pain that comes from repetitive studio work, these six Pilates-based movements offer the same restorative power that once helped the world's elite performers return to their craft.
The Restorative Fold
This movement serves as a counter-stretch to the forward-leaning posture common in studio work. It elongates the gluteus maximus, the broad latissimus dorsi of the back, and the spinal extensors. By decompressing the vertebrae, it releases the accumulated tension in the neck and shoulders.
Execution:
- Foundational Hinge: From an all-fours position, sink your weight back until your hips rest on your heels.
- Articulate the Fold: Hinge from the hips to drape your torso forward, allowing your belly to rest against your thighs.
- Extend the Reach: Walk your hands forward to lengthen the spine, or rest them alongside your body to release the shoulders.
- Breath & Release: Maintain a heavy, grounded sensation in the pelvis. Focus on deep diaphragmatic breathing to soften tight muscles in the lower back.
- Duration: Hold this static position for up to 1 minute.
This movement is an ideal "reset" to use between more active stretches or after long sessions at the drafting table.
The Supine Release
Long hours at the easel or workbench often compress the lower spine. This movement functions as a way to decompress the lumbar region and re-establish the neutral alignment of the hips and glutes.
Execution:
- Establish the Foundation: Lie on your back with both knees bent and feet flat, finding a neutral pelvis against the floor.
- Set the Base: Keep your left foot grounded or extend the leg fully along the floor to create a long horizontal line.
- Draft the Curve: Draw your right knee toward your torso. Anchor the movement by clasping your hands behind the thigh or across the shin.
- Anchor the Tailbone: Focus on lengthening the spine downward. Keep the back of your pelvis heavy on the mat rather than allowing the hips to curl upward.
- Neutralize Tension: Use deep breaths to soften the hip flexors, holding the position for 30 to 60 seconds.
- Symmetry: Release the leg with control and repeat the sequence on the opposite side to balance the form.
Piriformis stretch
This stretch works your piriformis muscle, which is deep in your buttocks. Stretching this muscle may help relieve pain and tightness in your buttocks and lower back.
To do a piriformis stretch, follow these steps:
- Lie on your back with both knees bent and your feet flat on the floor.
- Place your right ankle at the base of your left thigh.
- Then, place your hands behind your left thigh and pull up toward your chest until you feel a stretch.
- Hold this position for 30 seconds to 1 minute.
- Then, do the opposite side.
Seated spinal twist
This classic twist stretches your hips, glutes, and back. It increases spine mobility and stretches your abdominals, shoulders, and neck. The pressure of this stretch also stimulates your internal organs.
To do a seated spinal twist, follow these steps:
- Sit on the floor with both legs extended out in front.
- Bend your left knee and place your foot outside your right thigh.
- Place your right arm on the outside of your left thigh.
- Place your left hand behind you for support.
- Starting at the base of your spine, twist to the left side.
- Hold this pose for up to 1 minute.
- Repeat on the other side.
The Pelvic Tilt
This foundational Pilates movement builds strength in the abdominal wall, providing essential support for the lower back. By engaging the core, you relieve the strain placed on the glutes and hamstrings during long periods of standing or sitting in the studio.
Execution:
- Set the Alignment: Lie on your back with both knees bent and feet flat on the floor, hip-width apart.
- Engage the Center: Activate your deep abdominal muscles to gently tilt the pelvis, flattening the natural curve of your lower back into the floor.
- Static Hold: Maintain this engagement for up to 10 seconds. Focus on keeping your breath fluid and your neck and shoulders relaxed.
- Release the Form: Slowly return to a neutral spine and take a few deep breaths to reset the muscles.
- Volume: Complete 1 to 3 sets of 3 to 5 repetitions to reinforce core stability.
Spinal Articulation
This movement is essential for restoring mobility to the spine after long periods of static posture. It creates a rhythmic opening through the shoulders, neck, and chest, countering the "hunched" frame often adopted when working on fine details.
Execution:
- The Tabletop Base: Begin on all fours, aligning your hands directly under your shoulders and your knees under your hips to create a stable, rectangular frame.
- Expansion Phase: As you inhale, lift your gaze and tailbone slightly, allowing the spine to dip toward the floor in a gentle concave curve. Focus on widening the collarbones.
- Contraction Phase: As you exhale, press firmly into your palms and tuck your chin toward your chest. Arch your spine toward the ceiling, creating a high convex curve and spreading the shoulder blades wide.
- Fluid Motion: Continue transitioning between these two forms, allowing your breath to dictate the pace of the articulation.
- Duration: Maintain this rhythmic flow for 1 to 2 minutes.
The Elevated Extension
This gentle extension serves as a vital counter-pose to the forward-leaning "hunch" of studio work. It strengthens the spinal column and opens the chest, allowing for a more upright and open physical frame while engaging the glutes and lower back.
Execution:
- Establish the Support: Lie on your stomach with your elbows positioned directly under your shoulders. Extend your forearms forward, palms resting flat against the floor to create a stable base.
- Align the Lower Frame: Set your feet slightly apart; it is acceptable for the big toes to touch, keeping the lower body relaxed but aligned.
- Lift the Torso: Gently engage your lower back, glutes, and thighs to lift your head and chest away from the floor.
- Anchor and Support: Press your pelvis firmly into the floor and maintain a light engagement in your abdominals to support the lumbar spine.
- Set the Gaze: Look straight ahead to keep the neck long, or close your eyes to focus on the expansion of the chest.
- Duration: Hold this lifted form for 30 seconds to 1 minute, breathing deeply into the front of the ribs.
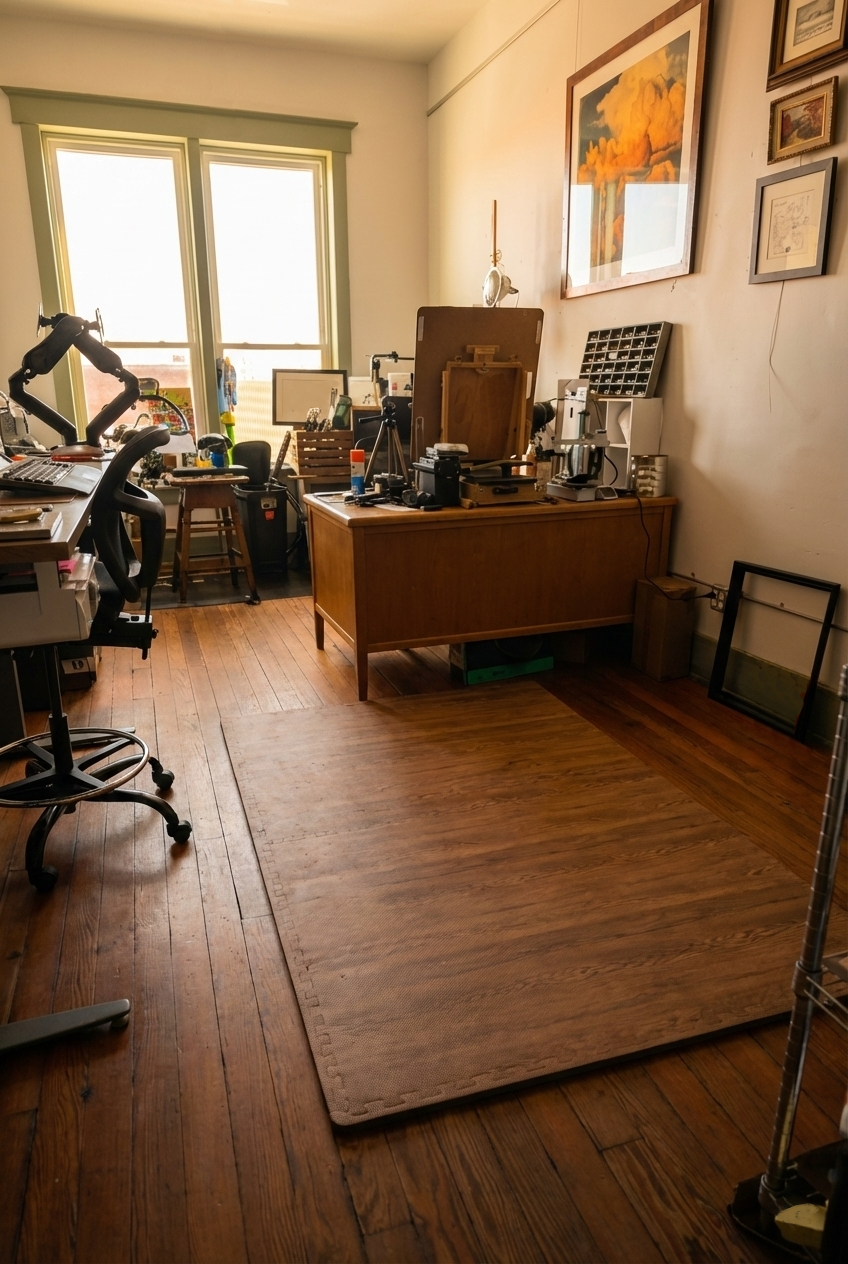
The most underrated tool in my studio isn't a brush, it's this mat. It stays put on hardwood floors and provides the cushioning needed for daily stretches.
Quick note: Some of the links above are affiliate links. This means if you decide to upgrade your studio gear, I may receive a small commission which helps keep this blog running! I only recommend tools I actually use on my own studio.