
Mastering Charcoal Drawing: Shading Techniques & Avoiding the Muddy Smudge
Charcoal drawing is messy, frustrating, and completely unforgiving. If you want something clean where you can erase every mistake until it never happened, go buy a sleek mechanical pencil and some printer paper.
If you are trying to figure out how to actually shade a drawing without turning your entire piece into a muddy gray smudge, you need to understand how the medium works in real life. People think charcoal is just black chalk. It is not. It is burnt vine or compressed carbon, and it has a terrible habit of sticking to your fingers, coating your desk, and refusing to blend the exact second you need it to look smooth.
Let us talk about the practical side of using charcoal for fine art without pretending it is easy or clean.
The Problem with Cheap Charcoal
If you grab whatever random art set is lying around the clearance aisle, you are setting yourself up for failure. A lot of beginner sticks contain tiny pieces of grit or hard little knots of unburned wood. You press down to lay in a dark shadow, and that little hidden rock scratches right through your heavy drawing paper, leaving a jagged white gouge you cannot paint over or blend away.
You need material consistency. Many artists rely on reliable tools like General Pencil compressed charcoal pieces because they give you predictable darks without random debris ruining your shading.
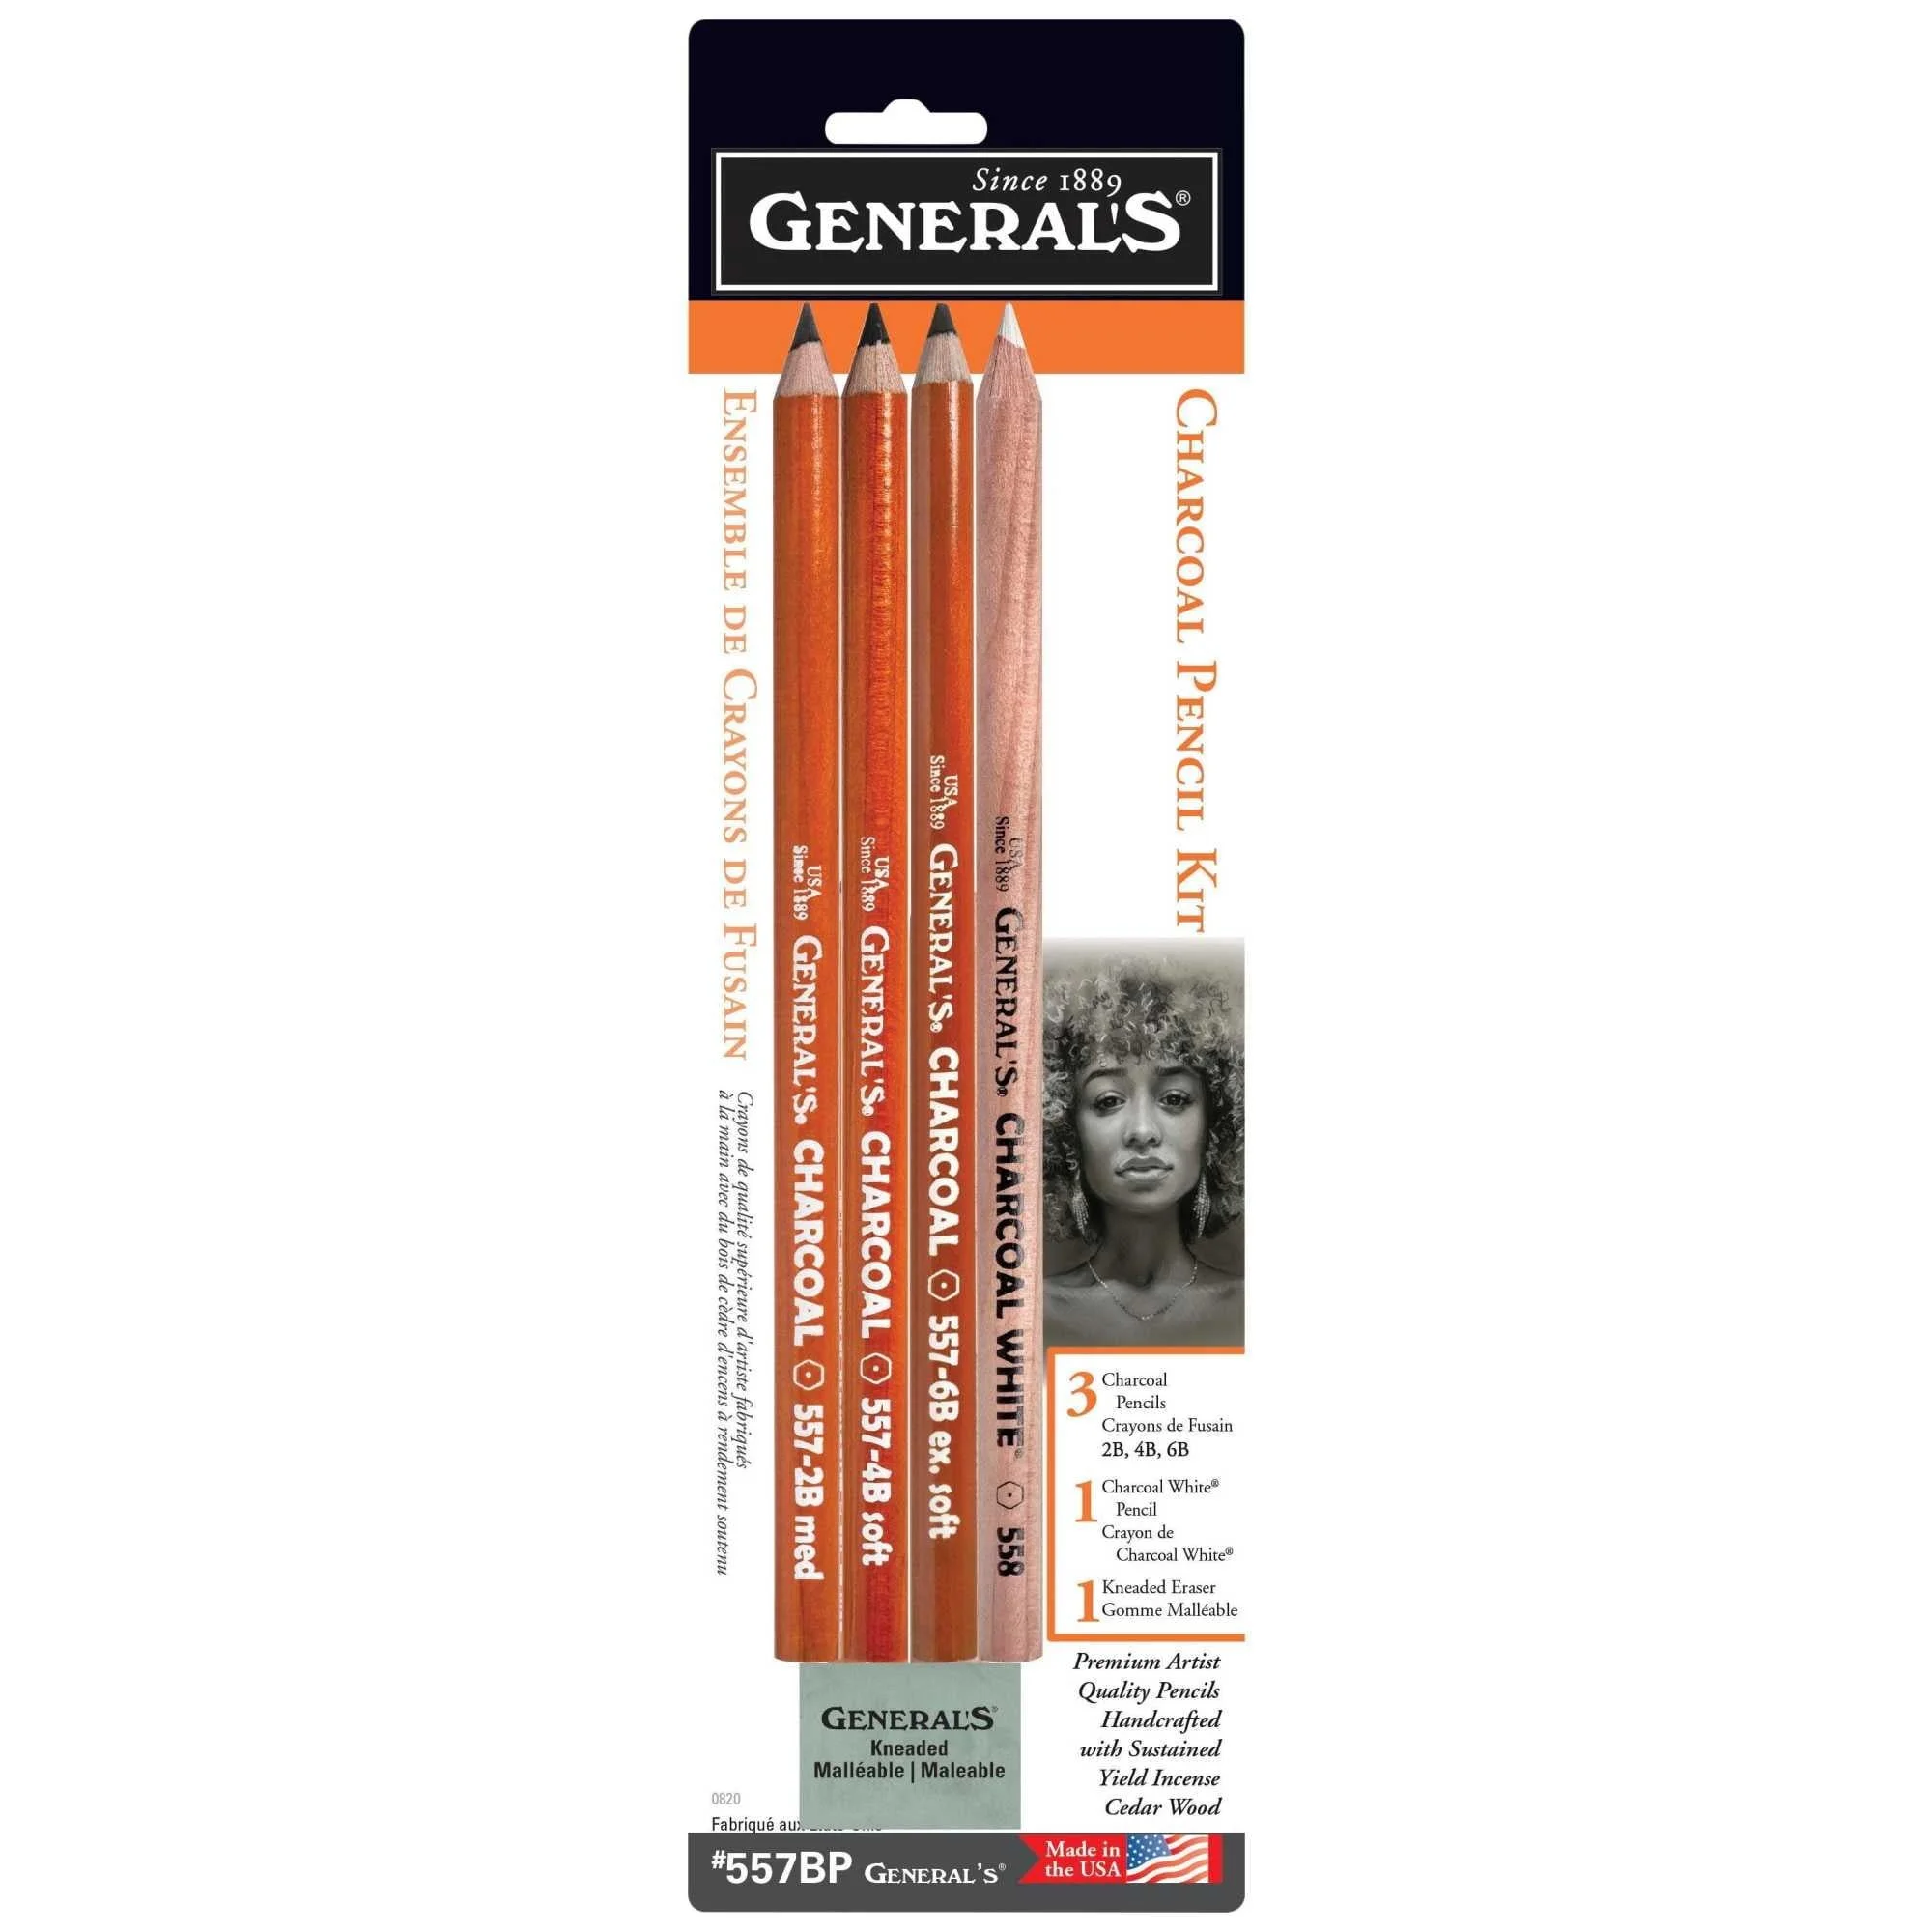
I’ve used Generals for over 15 years now, and it comes with a kneaded eraser, everything you need!
Hard vs. Soft: The Shading Trap
The biggest mistake people make with charcoal is pressing too hard too early.
Vine charcoal is soft and crumbly. It lays down light, easily erasable marks. Compressed charcoal is dense, dark, and stubborn. If you map out your initial proportions with heavy compressed charcoal, you are locking yourself into mistakes.
Start light: Sketch your outlines loosely using vine charcoal or a hard pencil[cite: 1]. You want lines you can actually lift off the page with a kneaded eraser.
Build up slowly: Do not jump straight to pure pitch black. Layer your midtones first. If you punch the dark values too soon, your drawing loses its depth and turns flat.
Manage the dust: Blow across the paper. Never use your bare hand to wipe away charcoal dust, because the natural oils on your skin will permanently smear the carbon into the paper grain. Or use a soft brush instead.
Fixing the Mess
Your hands are going to get filthy. Your workspace is going to look like a coal mine explosion happened. That is just part of the deal. My dad spent his life dealing with messy spreadsheets and late nights traveling across Kansas to keep things running, and sometimes art requires that same stubborn, gritty persistence. You just put your head down and work through the mess.
Keep a kneaded eraser nearby. It does not erase cleanly like a pink rubber school eraser; instead, it acts like sticky putty that lifts the carbon off the page. Dab, do not scrub. Scrubbing just pushes the dust deeper into the fibers. You can grab a set of General Pencil charcoal pieces to stock your desk if you are ready to put in the hours.